I recently got myself a new Mac, so I needed to setup VCV on it, and I wanted most of the settings and patches from PC to be the same.
A solution that alot of folks might come up with is using a git repo to store all the things, which is what I have done…
However, for the lazy or the unfamiliar with git or github, there is an easy way to do this without getting into a terminal. Basically just use the GitHub Desktop application for everything instead of typing commands.
You will still need to go create an account on github.com
Then you need to download, install and login to GitHub Desktop (you can do this with scoop on Windows and homebrew on MacOS)
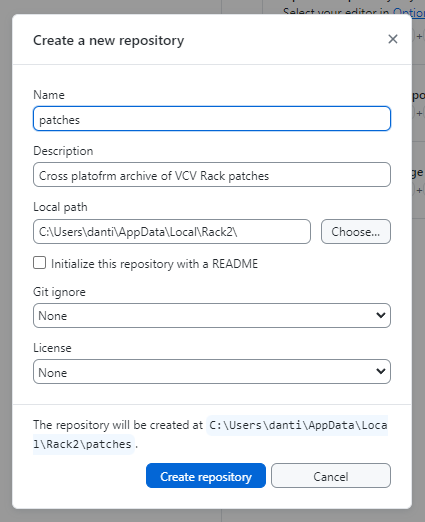
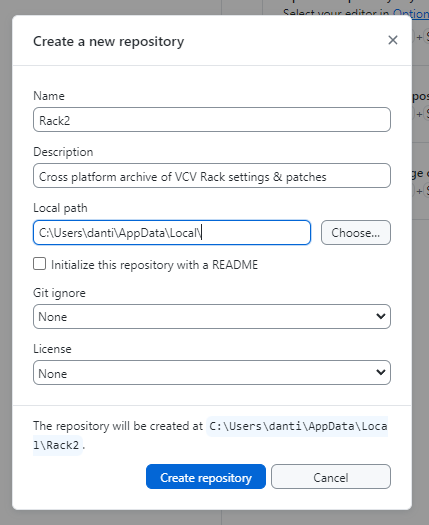
Once you have the app working, Create a new repository...
Give the repo a name and description and select the folder to use as the root, you have two options for this, you could select the patches folder to just archive your patches, or you could select the Rack2 folder to sync settings as well as patches (but you will need to add folders and files that you do not want to sync to a .gitignore file).
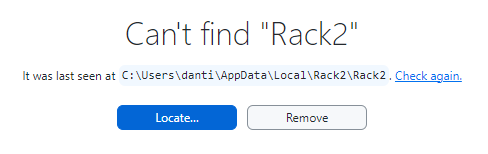
If GitHub Desktop gives you an error about too many files, then create the repo elsewhere in an empty folder, then cut and paste the .git folder and .gitattributes file into the Rack2 or patches folder, and then use the Locate... button to fix the repo
Once you have done that you will have an empty repository with hundreds of “changed” files
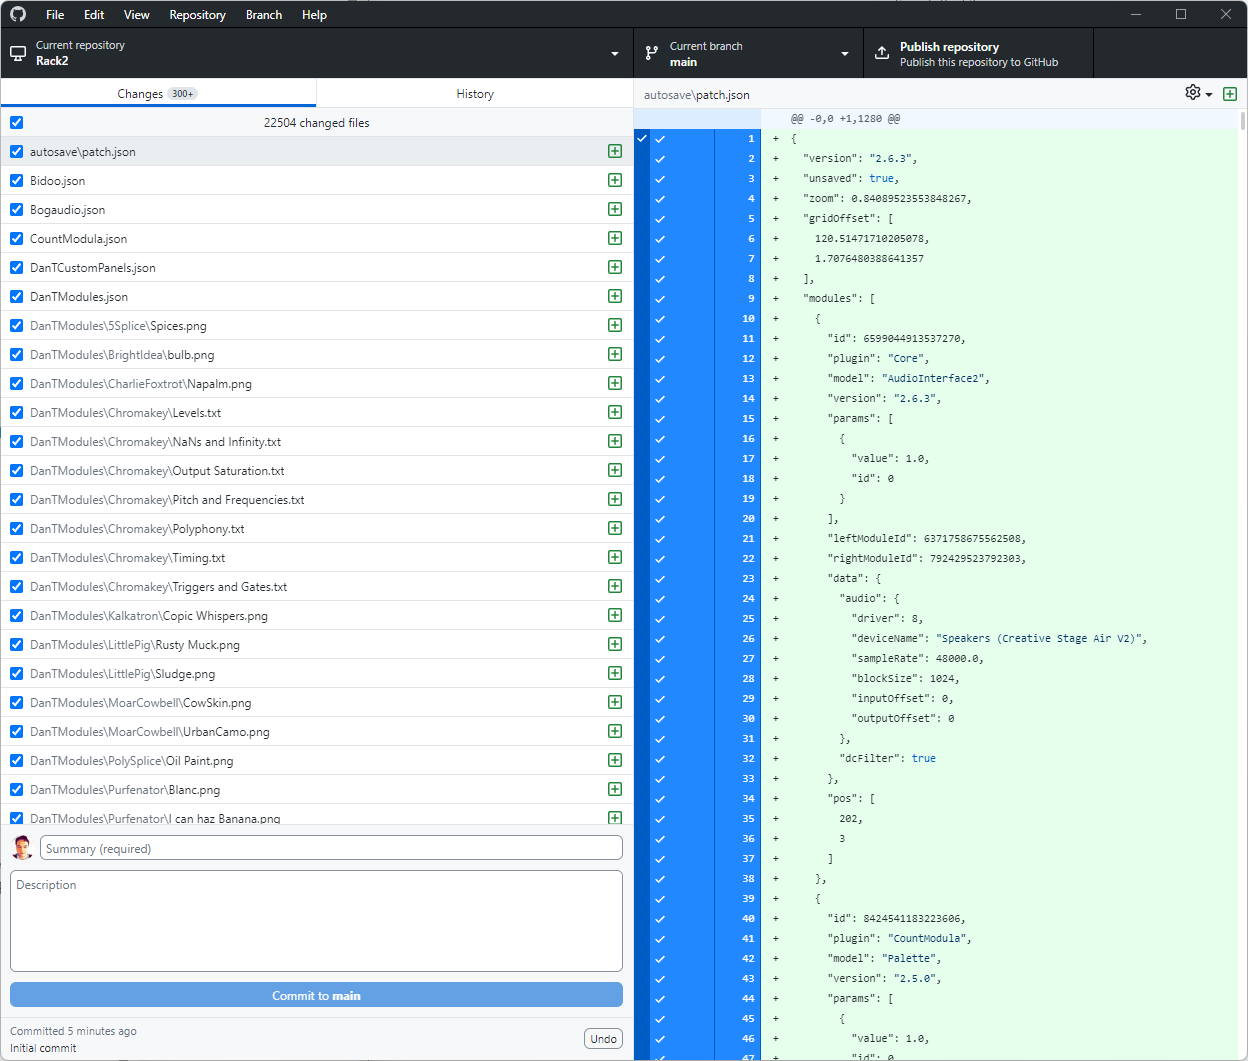
Ignore that for now and select Repository > Repository settings... > Ignored files
In the box you can set which files and folders you want to include in the archive, I am using the following:
# ignore those pesky MacOS files, I just add this automatically to all .gitignore files
**/.DS_Store

# first, ignore everything
/*

# Next unignore these files and folders
!.gitignore
!settings.json
!template.vcv
!patches
!presets
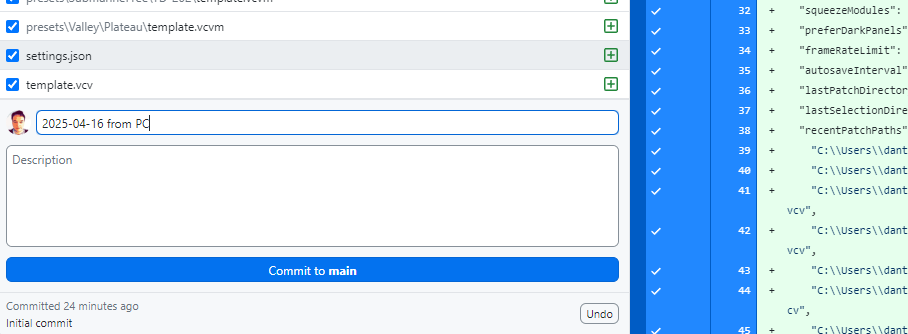
Now you should have a smaller list of changed files, the ones you want to archive, add a summary (I just add the date and host computer) and click the Commit to main button
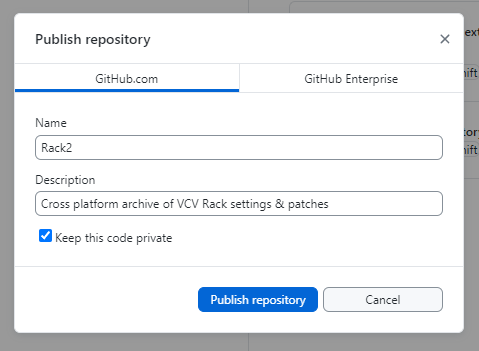
Next you want to push the repo up to GitHub using the Publish repository button (and you probably want to keep it private)
And now you have an archive saved on GitHub
If you want to restore your patches and settings in future on this or another machine, then you just have to clone this repo into your local Rack2 or patches folder. (GitHub Desktop won’t clone a repo into a non-empty folder, so as before, clone into a new folder, then cut and paste the files into your Rack2 or patches folder, then use the Locate… button to fix the repo).
And when you create new patches or presets or change your settings, the changed files will be listed in the GitHub desktop app, you can create a new commit for them and push them up to the archive.
Don’t forget that pushing changes does not overwrite what is there, it adds to the history, you can go back to previous commits from any time in the history.
This might be important, for example, if you want to archive the settings.json file between a Mac and a PC, because there might be some settings you want to be the same, and some that you need to be different. So you might checkout a commit with all your PC patches, and then checkout a commit with just your Mac settings.
There are lots of ways to use this repo now, you could have branches for different patches, or have a branch for PC and a branch for MacOS etc, its quite flexible, but you might want to get more familiar with Git concepts before you try anything more advanced…